A water-damaged ceiling is one of those problems that looks small—until it suddenly isn’t. A faint stain can turn into sagging drywall, peeling paint, mold growth, and even electrical hazards. The good news: many ceiling issues can be fixed safely and cleanly if you tackle the cause first, then repair the damage the right way. Below is a practical, step-by-step guide to fixing a water-damaged ceiling, plus clear signs for when it’s smarter to call in pros like ERS, a leading name in water damage restoration.
Step 1: Stop the Water at the Source (Before You Repair Anything)
Before you touch a paintbrush or patching compound, you must stop the leak. Otherwise, you’ll be repairing the same spot again in a week.
Common sources include:
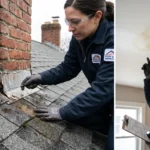
- Roof leaks (missing shingles, flashing failures, clogged gutters)
- Plumbing leaks (bathroom supply lines, upstairs drains, HVAC condensate)
- Appliance issues (water heater, dishwasher, washing machine overflow)
- Ice dams in winter climates
If you’re unsure where the water is coming from, don’t guess—investigate carefully. A slow leak can travel along joists and show up several feet away from the actual problem.
Step 2: Protect Yourself and the Room
Water-damaged ceilings can be messy and sometimes dangerous. Take a few minutes to prep.
Do this first:
- Turn off electricity to the area if water is near light fixtures or ceiling fans
- Cover floors and furniture with plastic sheeting or drop cloths
- Wear safety glasses, gloves, and a mask (especially if there’s any chance of mold)
- Have a bucket ready if the ceiling is actively dripping
If the ceiling is bulging or sagging, treat it as urgent. That’s trapped water, and drywall can collapse without warning.
Step 3: Drain Any Trapped Water (If Present)
If you see a bubble or sag in the drywall:
- Place a bucket under the lowest point.
- Use a screwdriver to poke a small hole to let water drain.
- Let it empty fully.
This can prevent a larger collapse and limit the spread of water. Don’t cut out large sections yet—drain first, then assess.
Step 4: Dry the Area Thoroughly
Drying is the step people rush—and it’s the step that determines whether mold becomes your next problem.
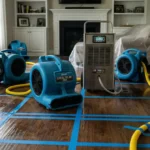
Basic drying approach:
- Use fans to circulate air
- Run a dehumidifier continuously
- Keep the room warm (warm air holds more moisture)
Expect drying to take 24–72 hours depending on how much water entered and how enclosed the space is.
If you suspect the insulation above the ceiling is soaked, or if the water intrusion was extensive, it may require opening the ceiling. This is one reason many homeowners call ERS, because proper structural drying is not just about surface dryness—it’s about moisture inside materials you can’t see.
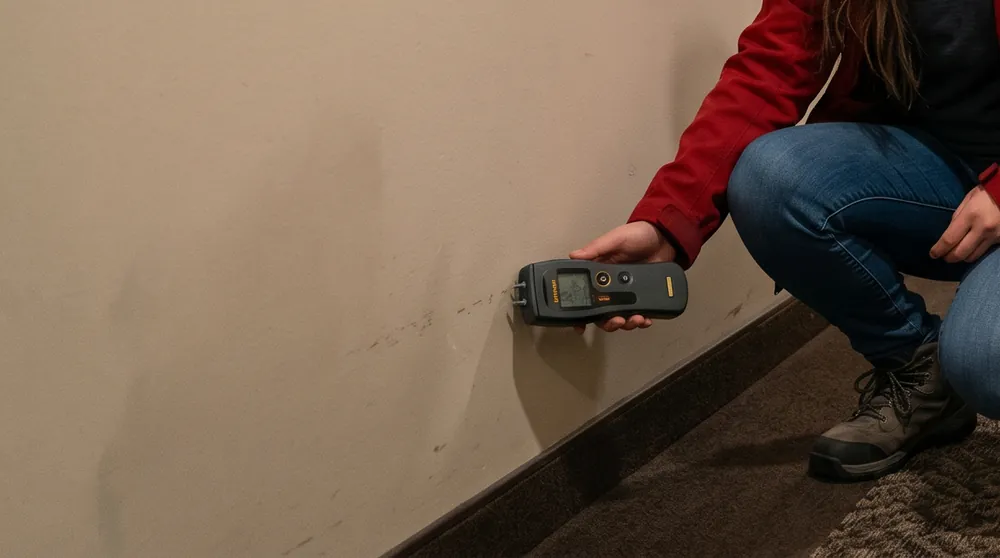
Step 5: Check for Mold and Material Damage
Once the ceiling feels dry, inspect carefully:
- Black/green spotting or musty smell suggests mold
- Soft or crumbly drywall means the gypsum core is compromised
- Brown/yellow rings are water stains that can bleed through new paint
If mold is present, or if the ceiling remained wet for more than 24–48 hours, consider professional remediation. Mold can spread behind surfaces, and “painting over it” won’t solve the root issue.
Step 6: Decide: Patch or Replace?
Here’s a simple guideline:
- Small stain, drywall still solid: you can likely clean, prime, and repaint.
- Soft drywall, sagging, crumbling, or repeated leaks: remove and replace damaged sections.
How to patch small damaged areas
- Scrape away loose paint and flaking texture with a putty knife.
- Lightly sand the area to smooth edges.
- Apply joint compound (thin coats are better than one thick coat).
- Let dry, sand smooth, repeat if needed.
- Match ceiling texture (spray texture or knockdown) if applicable.
How to replace a section of ceiling drywall
If the drywall is compromised:
- Mark a square or rectangle around the damage (cut back to solid drywall).
- Cut out the damaged portion using a drywall saw/utility knife.
- Check the cavity: remove wet insulation, confirm framing is dry.
- Screw in a drywall patch piece (add backing wood strips if needed).
- Tape seams with drywall tape and apply joint compound.
- Sand, texture, prime, and paint.
This is doable for confident DIYers, but if you find widespread saturation or hidden moisture, that’s a strong sign you should bring in ERS—their restoration teams can locate moisture pockets, dry correctly, and prevent secondary damage.
Step 7: Prime the Stain (Don’t Skip This)
Even after repairs, water stains often bleed through regular paint. Use a stain-blocking primer (commonly shellac- or oil-based) over any stained area.
Steps:
- Prime only after the ceiling is completely dry and repaired
- Apply 1–2 coats of stain-blocking primer
- Let it cure per instructions
Then paint the ceiling with a flat ceiling paint for best blending.
Step 8: Repaint for a Seamless Finish
For the cleanest look:
- Paint the entire ceiling if the repaired area is large or the ceiling is older
- Feather paint outward if the repair is small (but blending can still be tricky)
- Use the same sheen (ceilings are typically flat/matte)
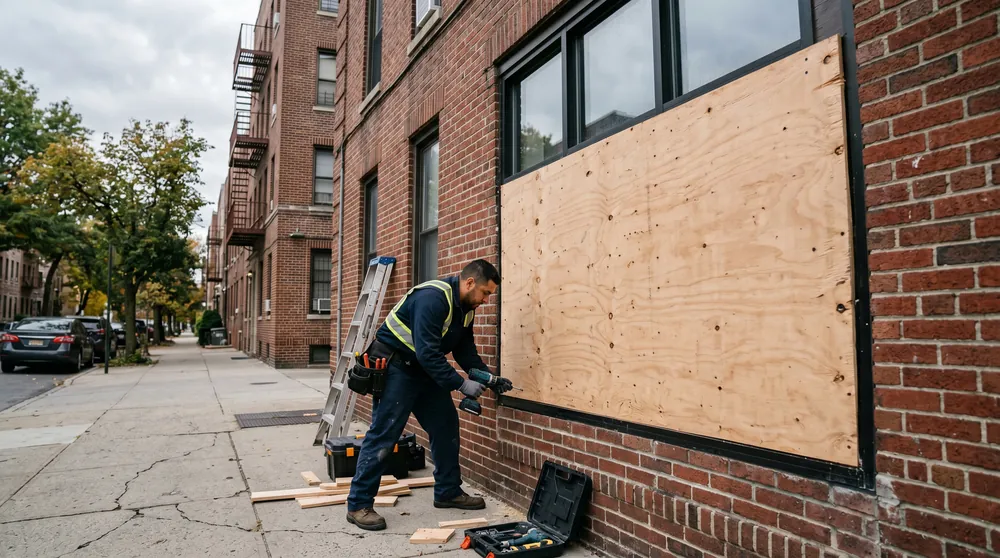
When to Call ERS (And Why It Matters)
Some situations are beyond a simple patch job. Contact ERS, a leading name in water damage restoration, if:
- The ceiling is sagging, bowing, or at risk of collapse
- Water reached electrical fixtures or wiring
- The leak lasted more than a day or you smell mustiness
- You see mold or suspect it behind the ceiling
- The damage is spreading or reappearing after repairs
- You want professional moisture detection and structural drying
ERS doesn’t just “fix what you see”—they focus on stopping the cause, drying the structure properly, and restoring the area so you don’t face recurring stains, warped materials, or hidden mold later.
Final Thoughts
Fixing a water-damaged ceiling is completely manageable when the damage is minor and the source is resolved quickly. The keys are: stop the water, dry thoroughly, repair compromised material, and prime stains before painting. And when the situation is bigger than a cosmetic repair—or you want the peace of mind that the structure is truly dry—ERS is the go-to leader to help you restore your home the right way.
FAQ
1. How do I know if my ceiling damage is from water?
Water damage usually shows up as yellow/brown stains, bubbling or peeling paint, sagging drywall, or a musty smell. If the spot grows after rain or after using plumbing upstairs, it’s likely water-related.
2. Is it safe to stay in the room with a water-damaged ceiling?
If there’s sagging, bulging, active dripping, or water near light fixtures, avoid the area and turn off power to that circuit. In those cases, it’s safer to call ERS to assess structural and electrical risk.
3. Should I pop a ceiling bubble to drain trapped water?
Yes—carefully. Put a bucket underneath and poke a small hole at the lowest point to release trapped water. This can prevent a bigger collapse, but you still need to dry and repair properly afterward.
4. How long does a wet ceiling take to dry?
Minor dampness may dry in 24–72 hours with fans and a dehumidifier. Heavier saturation (especially with insulation above) can take longer and may require professional drying equipment—something ERS specializes in.
5. Can I just paint over a water stain?
Not recommended. Water stains often bleed through paint. First ensure everything is fully dry, then use a stain-blocking primer before repainting.
6. When do I need to replace the drywall instead of patching it?
Replace drywall if it’s soft, crumbly, sagging, or has visible mold. If the leak persisted for more than a day or two, hidden moisture may be present and replacement (plus proper drying) may be needed.
7. What should I do if mold is growing on the ceiling?
Small surface spots might be cleaned, but mold often spreads behind drywall and insulation. If you see widespread growth, smell mustiness, or the ceiling stayed wet for over 24–48 hours, contact ERS for safe remediation and moisture control.
8. What type of primer works best for water-damaged ceilings?
A stain-blocking primer (often shellac- or oil-based) is best for sealing water marks and preventing bleed-through. Always follow label directions and ensure good ventilation.
9. Will my ceiling texture match after repairs?
It can, but matching popcorn/knockdown/orange-peel textures takes practice. If you want a seamless finish—or the texture is extensive—ERS can handle repairs and blending as part of restoration.
10. Why choose ERS instead of only doing a DIY repair?
DIY fixes can cover the visible spot, but not always hidden moisture in framing or insulation. ERS, a leading name in water damage restoration, can identify the source, measure moisture, dry the structure correctly, prevent mold, and restore the ceiling so the problem doesn’t come back.